

How to Insulate a Loft?
Lofts and attic spaces are common in most residential properties, with many of us using these areas to store Christmas decorations, old photo albums and a whole host of miscellaneous household objects.
Sometimes, lofts may even be converted into a more usable space such as an extra bedroom or a home office.
Whatever the case for you, whether you regularly use your loft or not, it’s always important that your loft is properly insulated. This is because insulation plays an essential role in keeping your home warm and, hopefully, maintaining lower utility bills.
You would be forgiven for thinking that insulating a loft is a job for the professionals but this doesn’t always have to be the case. In fact, in many cases, insulating the loft can be handled by any budding DIYer provided the correct method is followed.
In this article, we’ll explain how to insulate a loft, providing you with a useful step-by-step guide on the correct way to do so.
Read on to find out more.
What Is Loft Insulation?
First and foremost, it’s important to properly understand what loft insulation is and the important role it plays in every property.
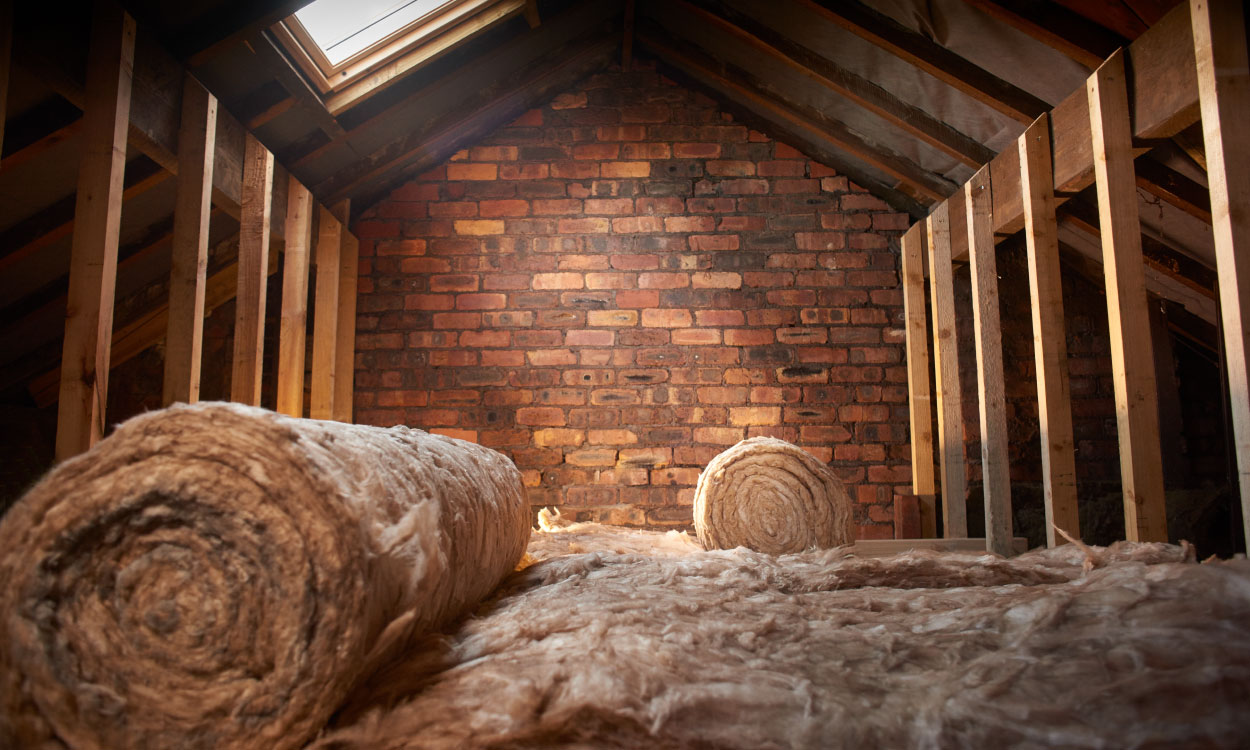
Loft insulation is a layer of material that acts as a barrier in your property between the cold outside air and the interior of your home. It can be laid in multiple parts of the loft including between joists or between the rafters depending on what is most appropriate for your space.
Typically, loft insulation is made from the likes of mineral wool, sheep wool or fibreglass with all three options providing an excellent heat-saving solution. Moreover, all of these materials are fire-resistant which is an integral element of insulation. This means that if a fire does occur, the insulation will not cause it to spread through the loft and wider property.
Benefits Of Loft Insulation
Before we take a closer look at how to insulate a loft, let’s consider the range of benefits that loft insulation provides to a property.
- Energy savings – Topping the list of loft insulation benefits is the promise of energy savings. Loft insulation is a cost-effective way to reduce heat loss in your home. By preventing heat from escaping through the roof, insulation helps maintain a more stable and comfortable indoor temperature. With this in mind, it should reduce the need for you to use your central heating system during the winter months and therefore result in lower energy bills.
- Improved energy efficiency – Going hand in hand with energy savings is greater energy efficiency. A well-insulated loft can greatly improve the overall energy efficiency of your home. This means you can benefit from keeping the heat indoors during the colder months and preventing excess heat from entering in the warmer ones. This helps to reduce the overall workload of your respective heating and cooling systems.
- Reduced carbon footprint – Loft insulation is also environmentally friendly. Proper loft insulation creates a more consistent and stable indoor environment and also lowers energy consumption. In turn, this means reduced greenhouse gas emissions that are harmful to our planet. Using less energy for heating or cooling a home will mean you are directly contributing to environmental conservation, a reduced carbon footprint and helping in the global fight against climate change.
Much of the effectiveness of your loft insulation will depend on the quality of the product as well as how it has been installed. So, to make the most of the benefits outlined above it’s essential that the insulation is properly installed in the first place.
Choose The Right Insulation
Now we’ve discussed exactly what loft insulation is and the range of benefits it brings, it’s time to explain how to insulate a loft.
Every property is different, meaning every loft is unique. With this in mind, choosing the right insulation for your home is vital if it is to be effective.
We’ve already mentioned the different materials that are available for loft insulation, however, thickness is perhaps the most important factor to consider. The recommended minimum thickness of insulation should be 270mm as this has been known to reduce energy bills by 15%.
The depth of the insulation you need can be easily calculated, too. Simply measure the depth of your loft’s existing insulation and subtract it from the recommended thickness of 270mm, This will provide you with an amount that should be sufficient to cover your loft. When purchasing insulation you may also be asked for the area you’re working with. To work this out, simply multiply the length of the loft by the width.
If you’re installing insulation between your loft’s joists, then you may need to measure how much you need for this area. Joist gaps tend to be between 400mm and 600mm wide so you will need to measure the distance between them to ascertain how much material you need.
What You Need To Insulate A Loft
Once you’ve worked out how much insulation you need and made the order, you’re almost ready to get started.
Before you do, however, you should gather all the equipment you need to carry out the task successfully and safely.
To insulate a loft you will need:
- Insulation material
- Protective gloves
- Tape measure
- Craft knife
- Knee pads
- A torch or work light
- A face mask
How To Insulate A Loft?
As previously mentioned, this task can be conducted by most competent DIYers by following our handy guide but if you find yourself struggling or require extra support, there are numerous professional companies out there who can assist.
Typically, you will either insulate your loft’s joists or rafters, and in the guide below we’ll address both options.
However, the preceding steps tend to be the same regardless of what sort of work you’re doing.
Prepare The Loft
Before you start laying your insulation, you must prepare the loft to ensure the area is safe. Firstly, make sure the area is well-lit as you’ll need to be able to see what you’re doing as you work.
Once you’ve established that you’re able to see, check the joists and rafters for any signs of rotting or cracking. With joist insulation, you’ll need to walk on the area and if damage has occurred this may not be safe as you could literally fall through the ceiling. In these instances, you will need to call in professional support to repair the damage.
The next step is to fully vacuum the loft. These areas can get quite dusty so it’s worth removing as much dust as possible to make sure you’re not breathing in any harmful dust spores. Next, place down some loft panels which you can use to crawl on while conducting the work. This means you will not have to place so much weight on the joists which could risk a fall through the ceiling of the room below.
It’s also a good idea to use goggles, face masks and kneepads to protect yourself when insulating the loft.
Lay Insulation Between Joists
Let’s start by looking at joist insulation.
Simply roll the insulation between the joists, ensuring it offers a thickness of roughly 100mm.
Lay Insulation Over The Top Of The Joists
Once you have laid insulation between the joists, it’s time to do the same over the top. Lay it at a 90-degree angle to increase the depth up to the recommended overall depth of 270mm. Start this process from the furthest point from the loft hatch spreading it fully across the top of the loft joists.
Make sure you leave no gaps between the insulation strips, and when you move from one roll to the next ensure that you place the edges together but not too tightly.
Insulate The Loft Hatch
You should also insulate your loft hatch. It’s predicted that 5% of your home’s heat can be lost if you neglect this area. You can insulate the hatch by stapling or sticking a section of the insulating material to the inside of the loft hatch door.
Insulate Water Tanks And Pipes
After insulating joists, it’s important to also insulate any water tanks or pipes that are in the loft. This is because they could freeze if ignored. Simply cut your insulating material into the appropriate size and shape and attach it to your pipes. For the water tank, you can purchase tank jackets with different sizes available.
Insulate Beneath Rafters
Now, let’s move on to insulating rafters.
Installing rigid boards or foil insulation is the easiest way to insulate these areas. Work out how much space you’ll need in advance and cut the boards to fit. Use a nail gun to attach rigid boards to the underside of the rafters.
If you decide to use foil, move across the loft stapling the foil to the underside of the rafters. Once you reach the other side, you can go back on yourself until the entire area has been covered.
Insulate Between The Rafters
It’s slightly trickier to insulate between rafters but equally as important.
You must leave a gap of 50mm between the insulating materials and the membrane of the roof. Again, use a nail gun to attach your chosen material to these areas, measuring the gaps as you go.
