

Why Postmix Might Be the DIY Game-Changer You Need
There’s something uniquely satisfying about putting up your own fence. It’s more than just a home improvement task, it’s a statement of ownership of making your mark on the land you care for. But one thing consistently trips up even the most confident DIYers: the concrete. It’s messy, it’s finicky, and it seems like something better left to the pros.
That’s the myth, anyway. In reality, there’s a quiet revolution happening in gardens and on patios up and down the country, and its name is postmix concrete. With the right approach, you can forget about the wheelbarrow and cement mixer and still end up with rock-solid results.
If you’ve ever felt overwhelmed by the idea of mixing cement from scratch or watched a post wobble days after installing it, it’s time to rethink the entire process. This isn’t just about quick fixes. It’s about confidence, control, and giving DIYers the tools they need to take charge of their outdoor spaces with less stress and better outcomes.
The Real Barrier to Great DIY Projects?
Many homeowners still think that to build something strong and lasting, they need to mix traditional concrete by hand, balancing ratios and trying not to panic when things start setting before they’re ready. This belief leads to hesitation, half-finished projects, or calling in tradespeople for jobs you could absolutely manage yourself.
Let’s be honest: the problem isn’t your ability. It’s the outdated belief that concrete is complicated. And unfortunately, many guides online reinforce that mindset with jargon, pro-grade gear, and instructions that sound like you’re laying the foundations for a shopping centre.
That’s where a more grounded product like postmix concrete comes into its own. Ready to use straight from the bag, it removes the mental and physical barriers that have long held back DIYers from taking the leap.
And yet, many still believe that “easy” must mean “unreliable.” That belief is costing you time, money, and the quiet pride that comes from doing it yourself, and doing it well.
Convenience Doesn’t Mean Compromise
Here’s the truth: postmix concrete is not a shortcut. It’s a smarter tool for a different kind of job. Pre-blended and fast-setting, it was designed specifically for small-scale outdoor installations like gate posts, fencing, rotary washing lines, or even garden pergolas. You don’t need a mixer, and you don’t need to play amateur chemist.
It usually comes in manageable 20kg bags, making it easy to carry and store. But what makes it game-changing is its rapid set time. Within 5 to 10 minutes, your post is secure. Within a few hours, it’s ready to bear weight.
Compare that to traditional mixes, where you’re constantly battling water ratios, weather changes, and uneven setting times. With postmix, the stress is lifted. You gain back time, reduce error, and build with more confidence.
Used correctly, postmix concrete is not a compromise on quality, it’s a commitment to precision and practicality. It just demands that we let go of the idea that simple tools can’t yield strong results.
Why the Fastest Option Might Also Be the Most Reliable
One overlooked truth? Speed can equal strength. The rapid setting of postmix concrete isn’t a flaw; it’s a feature. When working outdoors, speed often protects your work. Sudden rain showers, shifting soil, or an unsteady post can ruin traditional setups. Postmix locks everything in before those variables can cause issues.
And the margin for error? Surprisingly forgiving. Even first-timers find it simple to use. As long as you’re prepared and act within the brief setting window, you’ll come out on top.
Of course, it’s not perfect. It does cost more per use than traditional methods, and you lose the flexibility to make adjustments once it sets. But if you’re not building a skyscraper and just want a fence that won’t fall over in the next storm, the benefits far outweigh the trade-offs.
How to Use Postmix Concrete: A Step-by-Step Guide
Step 1: Gather Your Materials
Start by collecting everything you need for the job. This includes enough postmix concrete—typically between one and a half to two bags per post. You’ll also need a source of clean water, the post you intend to install, a spirit level for checking alignment, a spade for digging, and a stick or rod to stir the mix. Don’t forget to wear safety gear, such as gloves and protective eyewear.
Step 2: Prepare the Hole
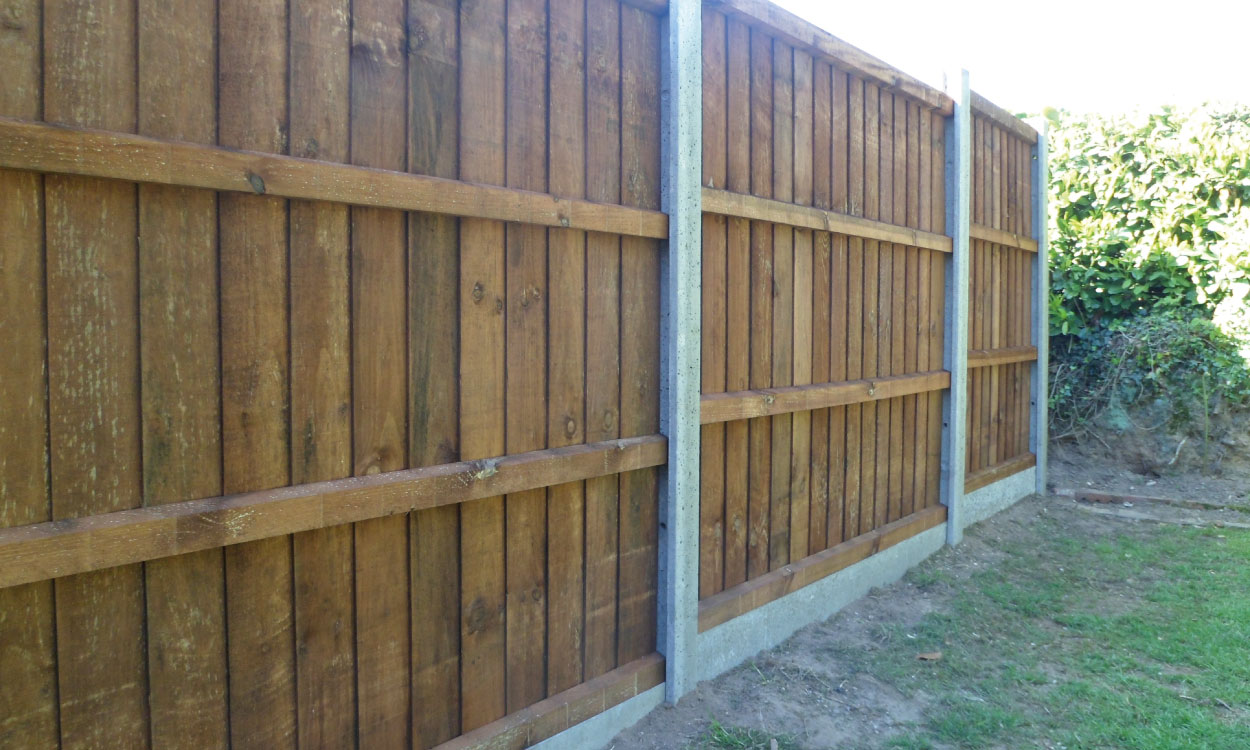
Use your spade to dig a hole that is at least two to three times the width of the post and around 600mm deep. If you’re in a particularly windy area, consider digging deeper to provide additional stability. Place the post in the centre of the hole, using temporary braces if needed to keep it upright.
Step 3: Add Water
Pour clean water into the hole until it is about halfway full. This helps activate the cement once the dry postmix is added.
Step 4: Pour the Postmix
Cut open the postmix bag and pour the contents directly into the hole on top of the water. The mixture should rise above the water level and begin to absorb it.
Step 5: Mix and Set
Use your stick or rod to stir the mixture gently. This helps eliminate any air pockets and ensures even hydration of the mix. Check that the post is level and upright, making any final adjustments quickly, as the mixture will begin to set rapidly.
Step 6: Let It Cure
Postmix sets within 5 to 10 minutes, so avoid touching or moving the post during this period. Wait a few hours before applying any pressure or attaching panels. Ensure the final level of the concrete is about 50mm below ground and slopes away from the post to prevent water from collecting at the base.
Strength Starts with Simplicity
Here’s the lesson: solid DIY results don’t depend on heavy machinery or trade-level experience. They depend on clarity, confidence, and the right materials for the job. Postmix concrete offers all three.
Next time you’re staring at a loose fence or planning your next garden project, resist the urge to overcomplicate it. The smarter way forward isn’t necessarily harder. It might just be simpler, quicker, and more reliable. And when the last post stands firm and level, you’ll know: this wasn’t just about the concrete. It was about building something better, from the ground up.
