

How to Install Lead Flashing
When it comes to protecting your home from the unpredictable British weather, few components are as important as lead flashing. Whether you’re dealing with a new build or tackling a home renovation, properly installed lead flashing can significantly extend the life of your roof, chimney or wall by providing a watertight seal at vulnerable junctions.
In this article, we’ll guide you through everything you need to know about installing lead flashing, from understanding what it is to learning how to correctly install it.
Read on for more…
What Is Lead Flashing?
Lead flashing is a durable, malleable material that is used in construction to prevent water from penetrating into a property. It’s typically installed around chimneys, along roof valleys and where the roof meets surfaces like a wall. Lead flashing acts as a barrier that directs rainwater away from vulnerable areas and into proper drainage systems.
Unlike other flashing materials, lead is prized for its long lifespan (often lasting more than 100 years), ease of installation and the way it aligns well with the natural aesthetics of British homes.
Benefits Of Lead Flashing
Lead flashing is popular for several reasons, and some of the benefits you’ll receive when using it include:
- Durability: When properly installed, lead flashing will last for many years. In some cases, it can last over a century.
- Weather resistance: Lead expands and contracts as the temperature changes. This reduces the risk of cracks or gaps forming on the lead.
- Environmentally friendly: Lead is a fully recyclable material, making it one of the most sustainable options you can choose.
- Aesthetic appeal: Lead flashing bends well with brick, stone and other home materials, helping to maintain the traditional look of older properties.
- Low maintenance – Once installed, lead flashing requires minimal upkeep compared to other materials.
Lead Flashing Codes
Lead flashing comes in various thicknesses referred to as codes. Each code corresponds to a specific weight and thickness:
- Code 3: 1.32mm and 14.97 kg per square metre
- Code 4: 1.80mm and 20.41 kg per square metre
- Code 5: 2.24mm and 25.40 kg per square metre
- Code 6: 2.65mm and 30.05 kg per square metre
- Code 7: 3.15mm and 35.72 kg per square metre
- Code 8: 3.55mm and 40.26 kg per square metre
Choosing the correct lead code is essential for the longevity and performance of the flashing. Thicker lead (those with higher numbers) can span wider areas and withstand more extreme conditions, but they can be heavier and more expensive. If you’re unsure of what lead code you need, be sure to get professional support to make sure you don’t install the incorrect type.
How To Cut Lead Flashing
Before you install your lead flashing, you will need to cut and prepare it. To do this, follow these key steps:
- Prepare your equipment: You’ll need several tools, including lead snips, a straight edge and chalk or a pencil for marking. It is also sensible to wear work gloves.
- Measure the distance: Take time measuring the distance you need to cover. Add a little extra for any overlap (typically 100mm will be enough).
- Mark the lead: Use a straight edge and some chalk or a pencil to mark the lead flashing.
- Cut along the marked line: Using lead snips (a sharp tool that is used for cutting lead), apply some pressure and cut along the line. For thick sheets, you may need to score them with a knife first.
- Form the flashing: To achieve the angle you need, use a bending tool or a lead dresser. This step will depend on where the lead is being installed, whether that is a wall, chimney or a roof valley.
Proper cutting and shaping are vital to ensure the lead is a tight fit and water is repelled effectively.
How To Install Lead Flashing
Once you have prepared your lead flashing, it’s time to install it. Here’s how:
- Clean the area: Before you begin, spend some time removing any old mortar, debris or previous flashing.
- Fit ledge straps: If desired, you can fit ledge straps onto the surface where the flashing is going to go. These straps will help your new lead flashing be secure and prevent it from sliding off.
- Chase out the groove: In some instances, especially if attaching lead flashing to bricks, you may need to cut a groove into the surface where the mortar joint in the flashing will be inserted.
- Install the lead: Insert the flashing into the groove and use lead wedges to secure it firmly in place. Each piece should overlap the section by a minimum of 100mm to ensure it remains waterproof and no leaks will occur.
- Seal the groove: Next, fill the groove with a lead sealant or water to keep water out.
- Dress the flashing: Use a lead dresser to smooth and press the flashing into shape. Ensure no gaps or bulges are present after you’ve finished.
- Apply patination oil: Finally, spend some time rubbing patination oil into the lead flashing. This is a substance that prevents the flashing from flaking or looking damaged, helping the lead maintain its attractive appearance.
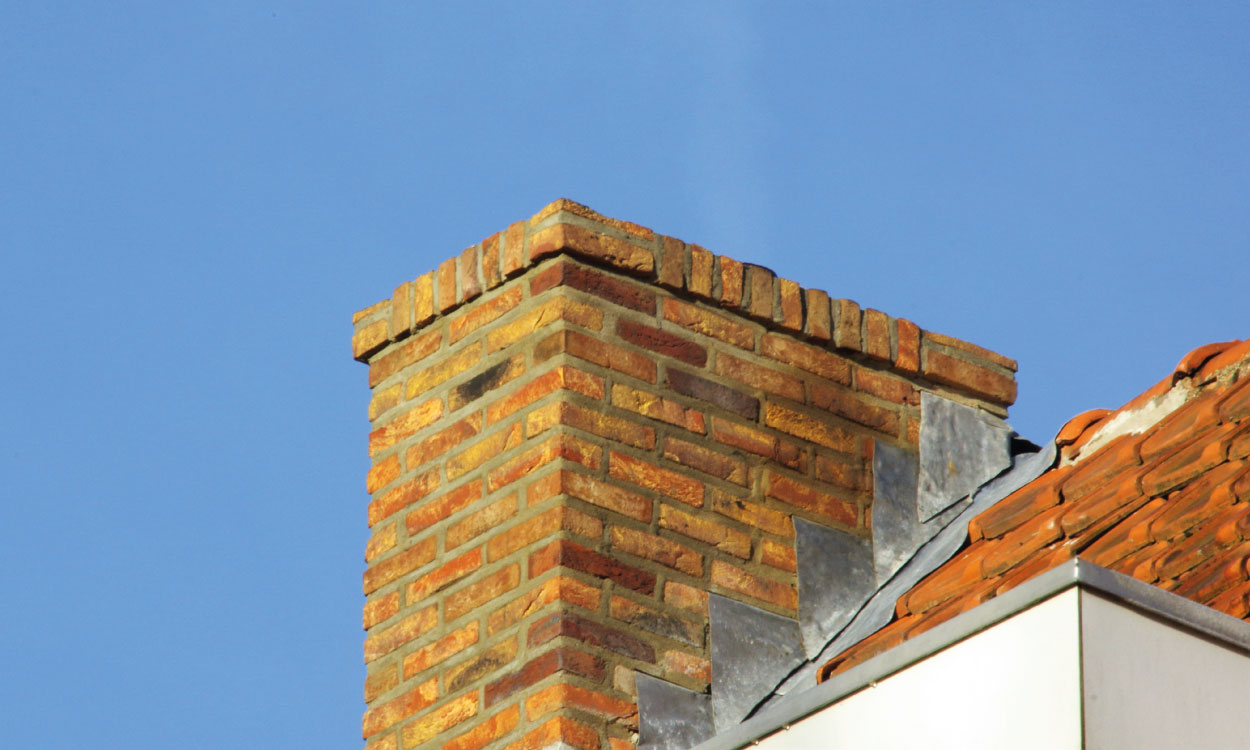
How To Install Lead Flashing Around A Chimney
Chimneys are one area of a property that is particularly vulnerable to water ingress. With this in mind, it’s important to use flashing to keep your home safe. If you’re installing flashing on a chimney, follow this process:
- Gather your materials: Start by getting all of the materials you need. For chimney flashing, you will need at least code 4, if not code 5 or 6. You should also use lead sealant and lead soakers.
- Install lead soakers: These are inserted under each roof tile and rise up the side of the chimney. Soakers are used to help redirect water.
- Apply step flashing: Cut pieces of lead to match the course of bricks and overlap each other. Insert into mortar joints and secure it with lead wedges.
- Back and front aprons: Fit a wide piece at the front (facing the roof slope) and a back gutter at the top. These should extend beyond the chimney sides so they can effectively direct water away.
- Seal and dress: Secure all lead sections with sealant and dress them into shape.
How To Install Lead Flashing On A Rendered Wall
Installing lead flashing on rendered walls requires a slightly different approach since the wall surface isn’t exposed brick. If you need to install lead flashing on a rendered wall, follow the steps below:
- Cut the lead sheets: First, you need to cut your lead sheets to the appropriate size. You should avoid long sheets to reduce the risk of cracking or buckling.
- Create a chase: Using an angle grinder, cut a chase into the wall. This should be around 25mm deep, and a 100mm overlap should be left between each sheet. Be careful when doing this that you do not damage the wall.
- Install the lead flashing: Insert the lead into the chase and bend it to follow the profile of the wall. Secure it in place with wedges or screws.
- Seal the chase: Use a lead sealant to seal the groove and prevent water from penetrating the wall.
- Dress the lead: Smooth the lead down so it sits flush against the wall and roof intersection. As mentioned above, ensure a 100m overlap with any adjacent flashing that is in place.
- Apply patination oil: As with other lead flashing installations, finish off by applying patination oil to prevent staining from occurring over time.
Common Mistakes To Avoid
Even if you’re an experienced DIYer, you should still be aware of the common errors that can occur when installing lead flashing. Here are some pitfalls to steer clear of:
- Overstretching the lead: This weakens the metal and reduces its durability. Always follow the recommended size limits.
- Poor overlapping: Insufficient overlap (less than 100mm) increases the risk of water ingress.
- Inadequate fixing – Not securing the lead properly can cause wind to lift it, causing leaks or damage to occur.
- Using the wrong code: Thinner lead sheets can buckle or split, so make sure you check what code you need in advance.
- Neglecting movement: Failing to allow for normal lead expansion and contraction due to temperature changes can cause the flashing to crack.
Lead flashing is a traditional yet timeless solution if you’re looking to protect your home from water damage. Whether you’re installing lead flashing on a chimney, sealing a roof-to-wall joint or protecting a rendered wall, using the right materials can ensure a long-lasting finish. While competent DIYers can often install lead flashing themselves, if you’re unsure or not confident working at a height, you should always consider hiring a professional roofer. Safety is paramount, and improper installation can lead to costly repairs.
By following our comprehensive guide, you’ll be well on your way to mastering the art of lead flashing installation and keeping your home in the best condition for decades to come. For more home improvement tips, be sure to check out other blogs across our website.
