

How To Clean Lead Flashing
Lead flashing is a crucial element of many UK homes, protecting your roof and brickwork from moisture and water ingress. Over time, your flashing can become dirty, discoloured and even damaged, which may reduce its performance and make its appearance unsightly.
Fortunately, cleaning and maintaining lead flashing is fairly straightforward, and in this article, we’ll explain exactly what lead flashing is and how you can clean it effectively.
Read on for more…
What Is Lead Flashing?
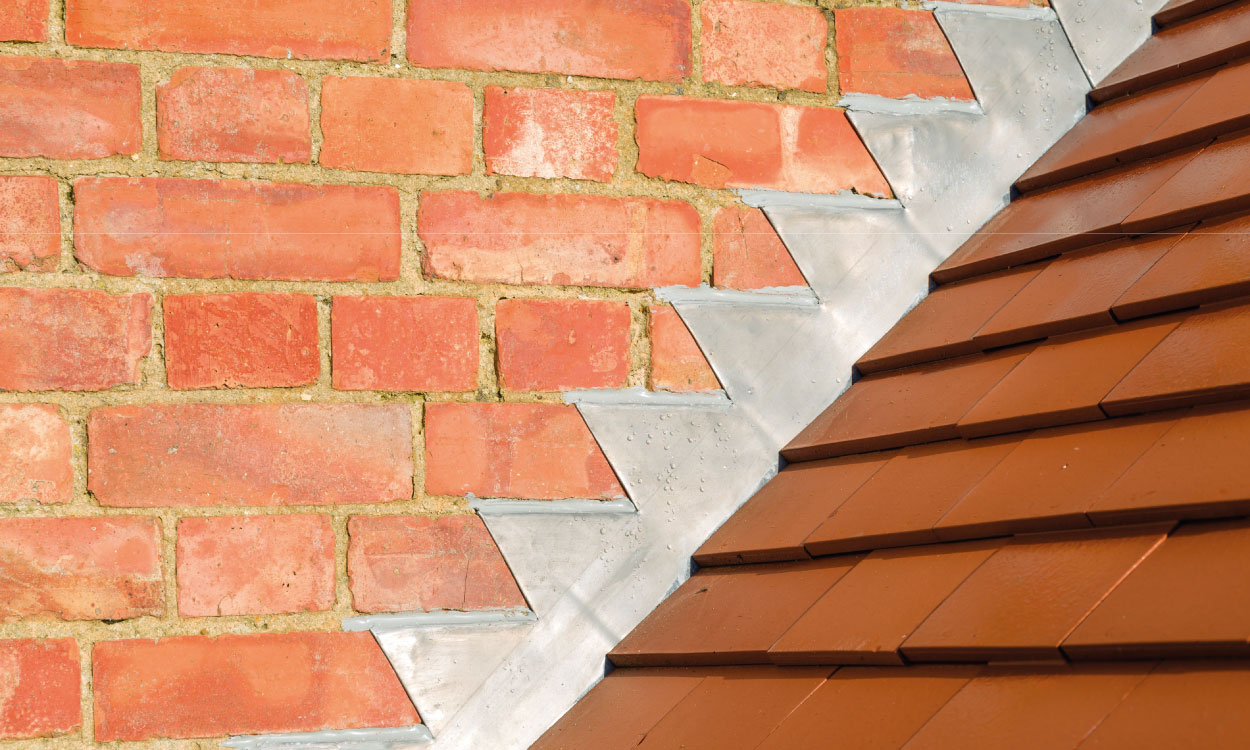
Lead flashing is a sheet of lead used in construction to prevent water from entering a building at joints or angles. Most commonly, lead flashing is found on roofs where different surfaces meet – such as around chimneys, roof valleys, dormer windows and where the roof meets the wall. The main purpose of the flashing is to provide a watertight seal and divert rainwater away from vulnerable areas.
Due to its excellent durability, lead has been a popular flashing material for centuries in the UK, and it is especially prominent in period properties and heritage buildings. However, even this hardy material requires regular maintenance to keep it performing well.
Signs Your Lead Flashing Needs Cleaning
Lead flashing is naturally resistant to corrosion and weathering, but this doesn’t mean it cannot accumulate dirt, moss and other pollutants like other surfaces. This is especially likely in areas of heavy rainfall or pollution. Here are some signs to look out for that might indicate that lead flashing needs cleaning:
- Discolouration: White streams, chalky residue or dull patches are signs that oxidation has occurred and cleaning is required to restore its appearance.
- Moss and algae growth: If you see the growth of greenery on your flashing, it needs to be cleaned. This is because this organic matter can trap moisture which may degrade your surface over time.
- Water stains indoors: If water marks are appearing inside your house, it could mean your flashing is no longer sealed correctly.
- Cracking or peeling sealant: Often visible around the flashing edges, this suggests the area might benefit from attention.
Regularly inspecting your flashing can help you spot these signs early and prevent more significant roofing issues from occurring later down the line.
Can I Clean Lead Flashing Myself?
Yes, cleaning lead flashing is possible if you’re a competent DIYer, but safety should always come first. Some considerations before you start include:
- Accessibility: If your flashing is located at roof level, you’ll need ladders or scaffolding. You need to make sure you’re confident when using this equipment. Furthermore, there may be instances where you can reach the flashing from indoors, and you will not have to use ladders.
- Height safety: Always use fall protection equipment if you’re working at a significant height. Never lean over a pitched roof without the appropriate safety precautions.
- Weather conditions: Choose a dry, calm day without much wind if you’re preparing to clean the lead flashing yourself.
- Tools and products: Make sure you use non-abrasive tools and lead-safe cleaners.
If the flashing is difficult to reach or you’re not confident with heights, then you should call a professional roofer or cleaner to do the job. If you live in an apartment or a high-rise building, then you must not attempt to clean the flashing yourself..
What Is Patination Oil?
Patination oil is a special liquid that can be used to clean lead flashing. It is specifically designed for use on lead surfaces and can be used to:
- Prevent white carbonate staining that can streak brickwork or roof tiles
- Enhance the appearance of the lead flashing
- Protect the surface from damage caused by weather and pollution
Unlike paint, which sits on the surface of lead and does not adhere, patination oil is absorbed slightly into the lead, creating a natural protective layer. It’s a great choice for cleaning and maintaining the aesthetic appeal of flashing without compromising its properties.
How To Clean Lead Flashing
Using patination oil is a great way to effectively clean lead flashing. Here’s a step-by-step guide on how to do so:
Materials needed:
- Gloves and safety goggles
- Dust mask
- A stiff brush
- Soft cloths or rags
- Mild detergent
- Clean water
- Patination oil (you can get this from most UK hardware stores)
- Ladder and safety gear if working at a height
Inspect the area
Start by checking the flashing for signs of damage, loose fittings or any cracks. If structural repairs are needed, you should arrange these first before continuing with the cleaning.
Clean the surface
When it comes to cleaning, begin by using a brush to remove any loose dirt, debris or moss. If the surface is heavily soiled, you can apply a mild detergent. Rinse it thoroughly with clean water and allow it to dry.
Apply patination oil
Shake the bottle of patination oil well before beginning. Then, using a soft cloth apply a thin, even coat of oil across the flashing surface. Make sure you follow the manufacturer’s instructions as you do this. Wipe away any excess oil immediately to prevent pooling and to stop streaks from appearing.
Inspect your work
Once dry, the lead should appear darker and more uniform. All chalky residue should be gone.
Final Thoughts
Lead flashing is a small but vital part of your home’s weatherproofing system. Here in the UK, where rain is a regular visitor, this is even more important. Not only does keeping it clean help to extend its lifespan, but it also preserves the look of your roofline and masonry. Whether you choose patination oil or another cleaning method, regular maintenance can save you money on costly repairs in the future.
As with all home improvement projects, safety is paramount. If your flashing is hard to access or showing signs of significant wear or damage, you should always contact professional support. But, for many homeowners, giving your lead flashing a simple clean should be a quick and easy job.
For more home improvement tips, be sure to browse our range of blogs.
